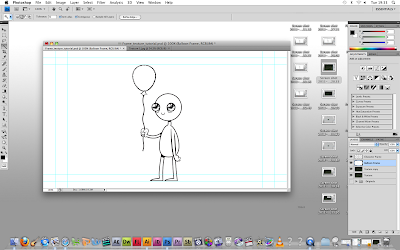
Hello everyone! Since we're now in the testing and finalizing stage of our animation, I figured a little tutorial on how to easily add the "white ink" texture into your animation should be on hand for the group to reference. Hopefully I've broken down this enough so everyone can understand it right off the bat, but feel free to message me with any comments/questions.
Click "Read More" to begin!
Step 1:
Create a new project. Make sure the composition is a PAL Square Pixel Widescreen, as usual. Then, import your frame layers into Photoshop. Make sure your scenery and character are separate layers (if they aren't already.) For this example, instead of the customary scenery, I chose a balloon.
Step 2:
Select the white area around your character.
Now erase the white area around your character, revealing the scenery beneath.
Step 3:
Open the texture...
...and place it within your composition.
Now, the file's going to massive, so some resizing is in store. Simply hit ctrl+T to reveal the free transform bounding box, and then, with the bounding box still active and untouched, hit ctrl+0.
Now, resize the texture to your liking. The closer to the size of the frame, the better. Example:
There, nice and crisp.
Step 4:
Duplicate the texture. There's no shortcut for duplication, so go Layer < Duplicate Layer.
Then place the duplicate on top of the original texture layer...
...and move them both beneath the scenery and character frames.
Step 5:
Select areas you want the white ink to show up. For example, I want the balloon to be filled with white ink.
Erase the selection, revealing the black texture in the layer below.
Step 6:
Merge the scenery layer with the topmost texture layer. (ctrl+E = merge selected layers)
Step 7:
Invert the newly merged scenery layer. (ctrl+I = invert)
Step 8:
Select the black in the scenery layer.
Erase all the black, revealing the original texture layer below.
Step 9:
I played around with some of the opacity settings, and "Difference" looked the best. It allowed some of the black texture to show through without losing too much of the white layer. Feel free to message me if you find another opacity setting looks better.
Ta-da! All done! Now repeat this process on your other frames. : ) Enjoy!


No comments:
Post a Comment